The Multiple SMTP app in Simply CRM allows you to add multiple SMTP servers to your Simply instance. By configuring multiple SMTP servers, this extension lets you customize your messages and communicate with your contacts using a variety of email accounts.
This way, you can separate your marketing and sales messages from support emails or allow your employees to send emails from their personalized company accounts. Thanks to Multiple SMTP, each user in your instance of Simply CRM will be able to add their own custom email address and send emails directly from Simply CRM.However, Multiple SMTP doesn’t just help you better organize your messaging, they allow you to collect more precise data for your marketing campaigns
Multiple SMTP doesn’t just help you better organize your messaging, they allow you to collect more precise data for your marketing campaigns.
In addition, using multiple email addresses can reduce the risk of your message ending up in the user’s spam folder, which helps increase your open rates.
How to set up the multiple senders app
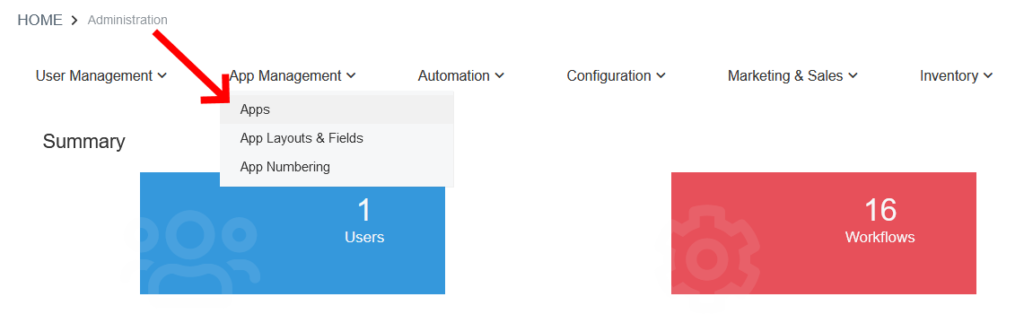
In order to set up multiple senders, you’ll first need to activate the application from the App Store. To do that, go to Settings > App Management > Apps.
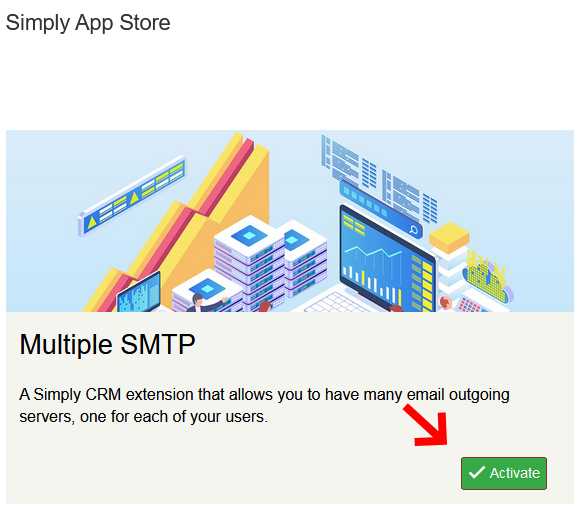
Then, search for the Multiple SMTP app in the store.
Once you find Multiple SMTP, press the Activate button to turn on the app.
The app will instantly become available to you and you should receive the following notification, informing you about the app status, in the top right corner.

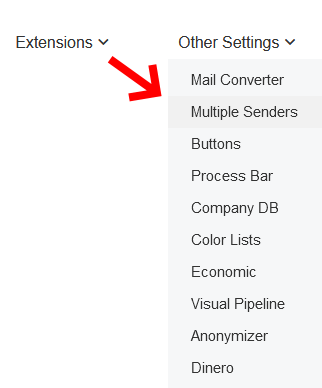
Now, you can find the Multiple Senders option under Other Settings.
When you open the app, you should see the Multiple Senders homepage with an Add New button in the top right corner. Press this button to add your email addresses to Simply CRM.

However, before you start adding your email addresses, please make sure they are configured to allow Simply CRM to connect to them.
If you are using Gmail, see this article for a step-by-step guide:
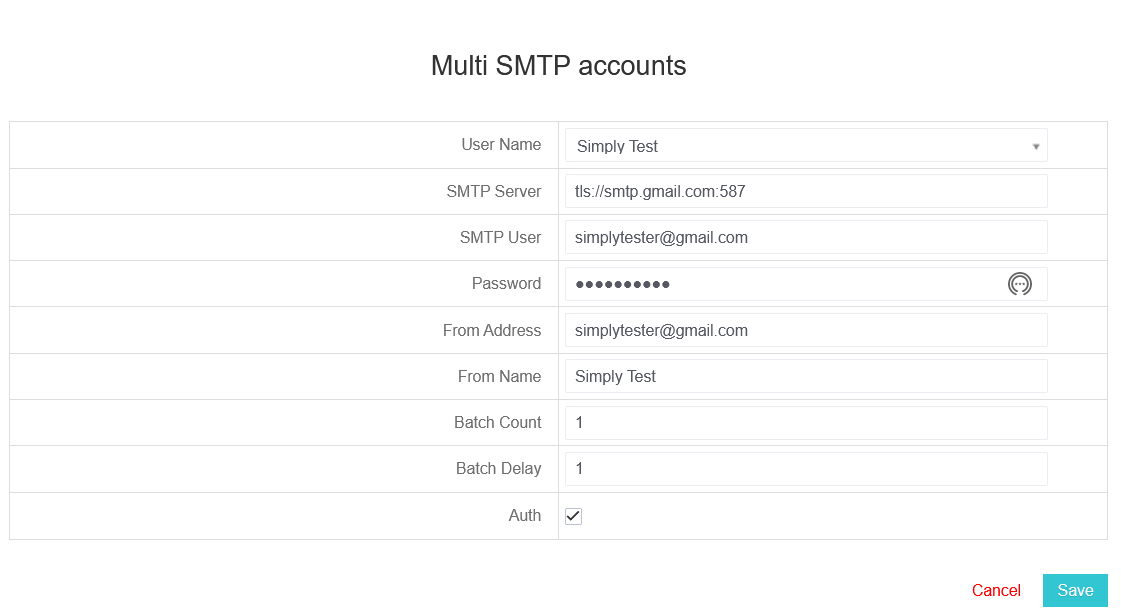
To add your email, you’ll need to fill out the form shown below:
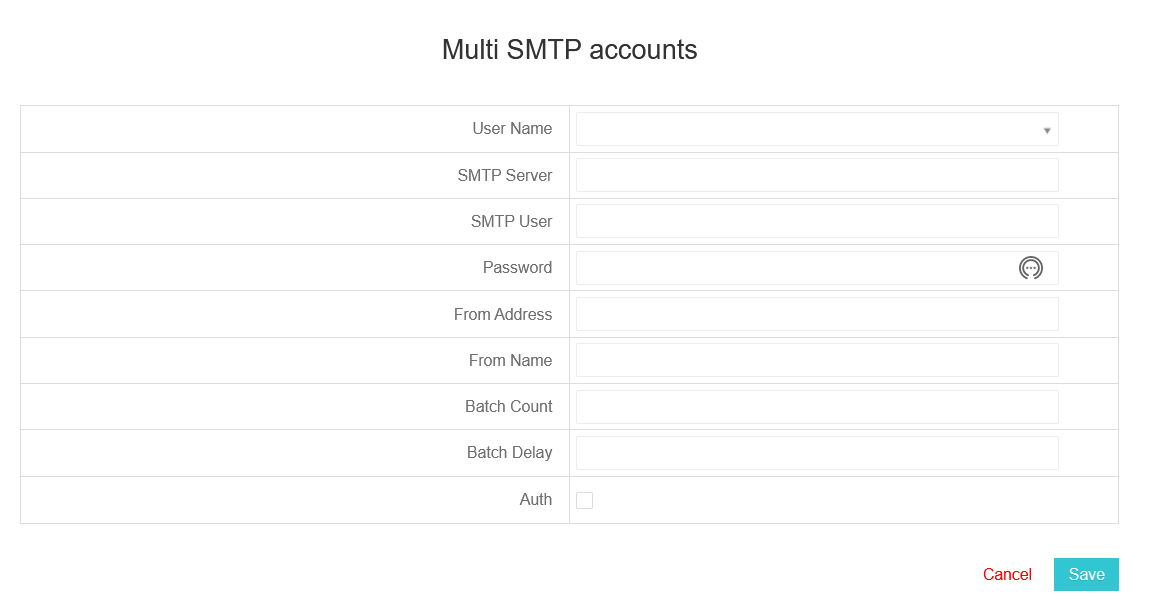
The following table breaks down each field and describes how to fill it out to successfully add your email account to Multiple Senders.
| Field Name | Description |
| User Name | Defines the Simply CRM user that will be associated with the email account. |
| SMTP Server | Specifies the SMTP server that is used to send out emails. |
| SMTP User | Specifies the email address (user) that is connecting to the SMTP server. |
| Password | The password of the email account specified in the SMTP User field. |
| From Address | Specifies the email address that will be used to send emails. This email address should be the same as SMTP User. |
| From Name | Specifies the name that will be shown when sending emails. |
| Batch Count | Limits the number of messages that can be sent in a batch. |
| Batch Delay | Defines the delay between emails sent in a batch. |
| Auth | Select this option if you want the SMTP server to require authentication before sending emails. |
Below, you’ll find an example of a Gmail address configured correctly.
When you press save, the module should reload and send you back to its homepage, where you will see your new address added under Multiple SMTP Accounts.

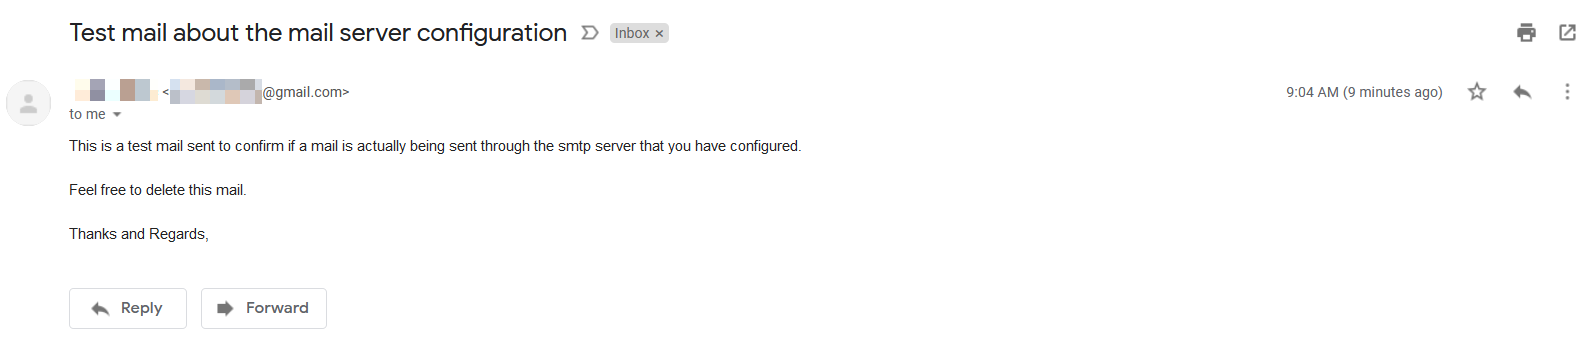
You should also receive a test email confirming that you successfully added your email address to Multiple Senders. The email will be sent from the address that you configured in Multiple Senders to the email address associated with your Simply CRM user account.
How to use multiple emails in Simply CRM
When you configure your email accounts and add them to the Multiple Senders app, you’ll be able to choose your preferred email address for each email that you send.
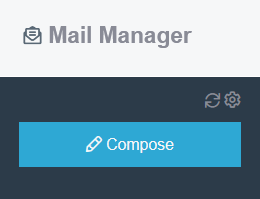
If you’d like to send an individual email to a contact, you can open the Mail Manager app by pressing the mail icon in the top right corner.
Then, press the Compose button in the top left corner of the Mail Manager app.
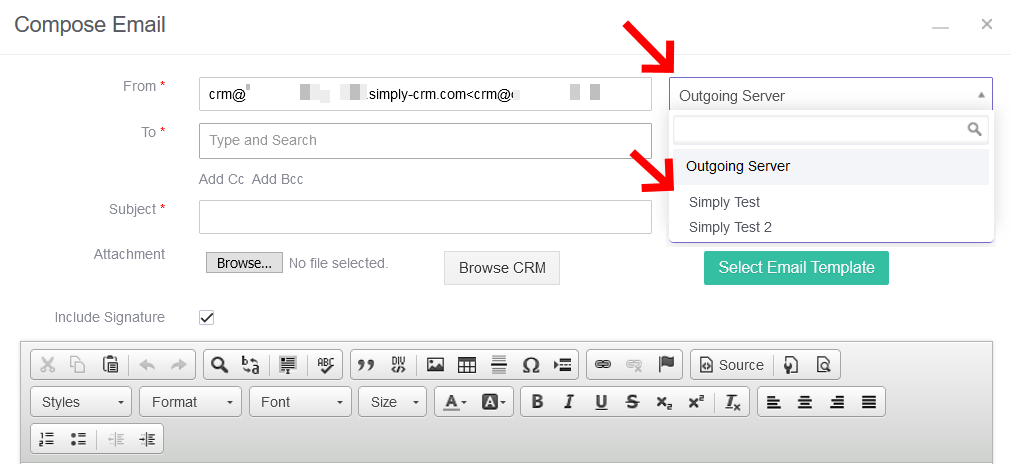
In the resulting email pop-up, press the Outgoing Server button and select the preferred email user name that you configured in the Multiple Senders app.
Important: In order to send emails from Simply CRM, you must first install the Mail Manager App and configure your inbox. If you’re unsure how to do that, please consult our in-depth guide on setting up the Mail Manager.


